LET'S SKETCH
Shapes make everything!
One of the best ways to learn how to draw is by learning how to see. Every object around us — no matter how detailed or complicated it may seem — can be broken down into simple shapes. Circles, rectangles, ovals, triangles, and lines become the building blocks for everything we create.
In this lesson, we’re going to explore drawing through shapes while focusing on one of my favorite subjects: gardening implements! From watering cans and flower pots to trowels, gloves, and seed packets, you’ll discover how simple shapes can transform into charming garden-inspired sketches.
Remember: this lesson is not about perfection. It’s about training your eye, loosening your hand, and learning to trust the process. Sketch lightly, play often, and most importantly — have fun!
Before You Begin
Take a few moments to look carefully at the gardening objects around you. Don’t think about drawing the object yet — simply ask yourself:
What shapes do I see?
Is the object mostly round or rectangular?
Where are the curves?
Which shapes overlap?
What shape is repeated?
The goal is to train your brain to notice simple forms before details.
Now let’s warm up!
Fill one sketchbook page with circles, ovals, rectangles, squares, triangles, curved lines and finally straight lines. The more you draw these shapes the quicker you will become at sketching so as I said previously - practice, practice, practice!
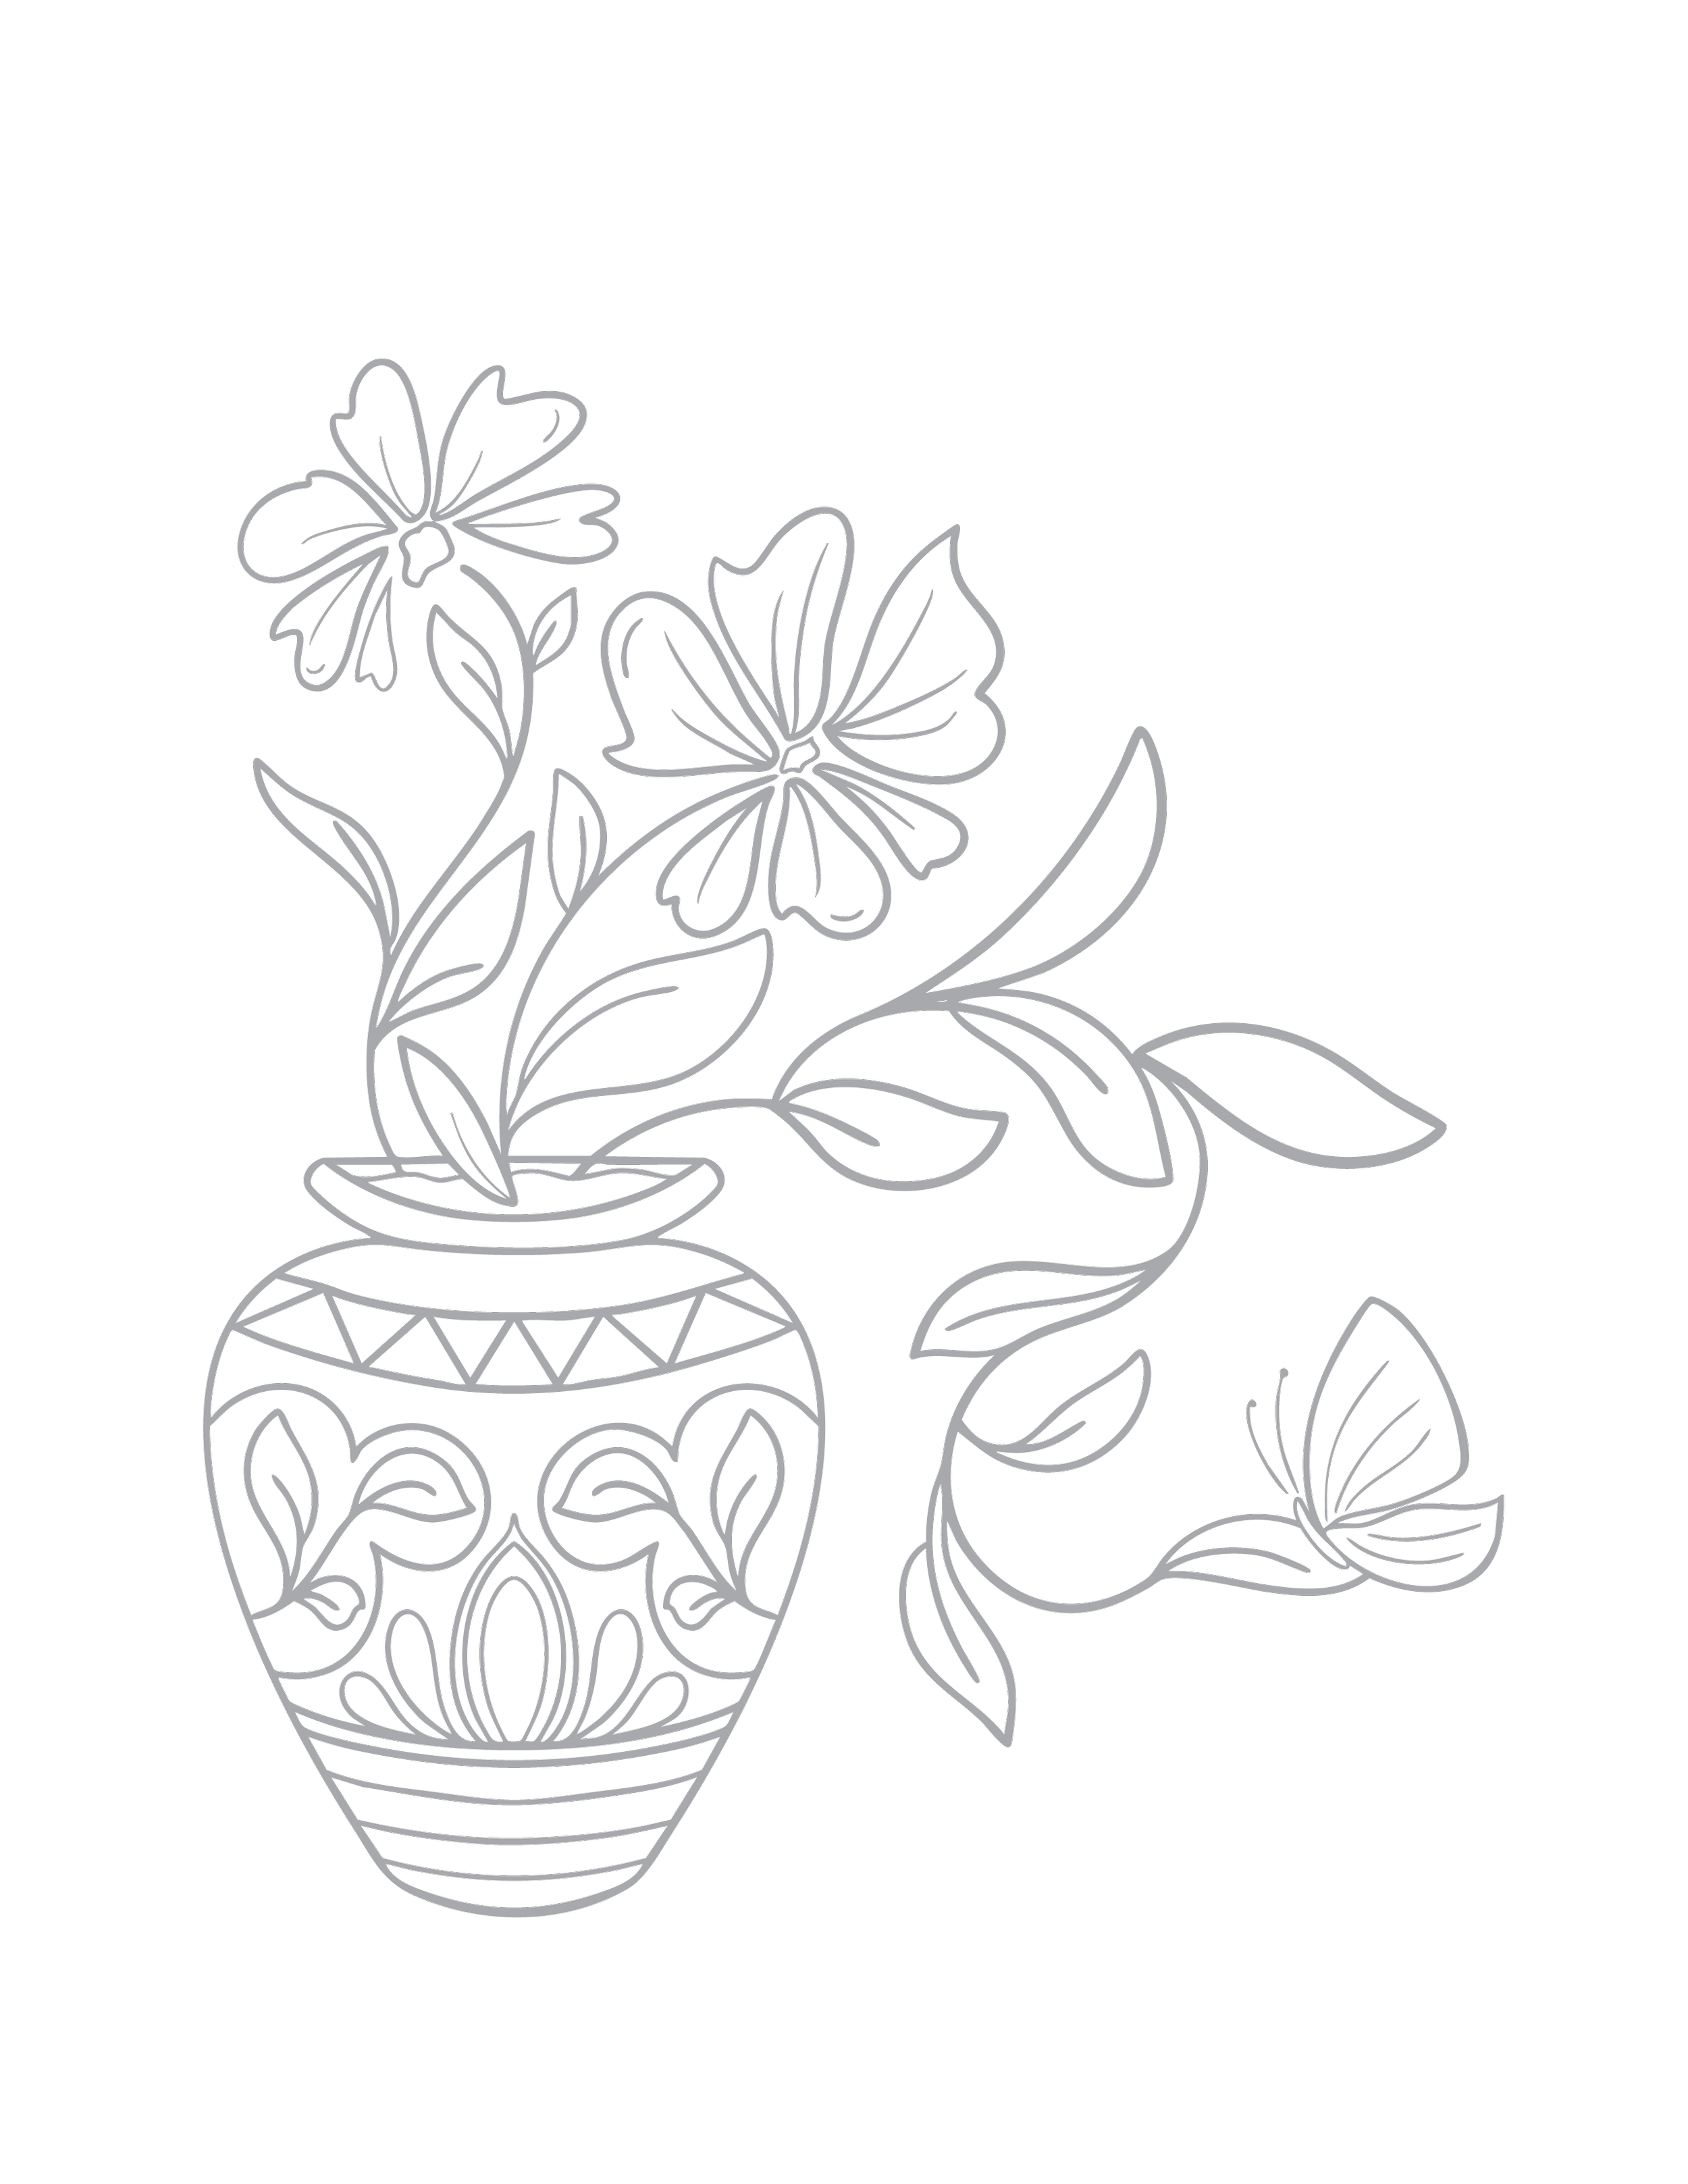
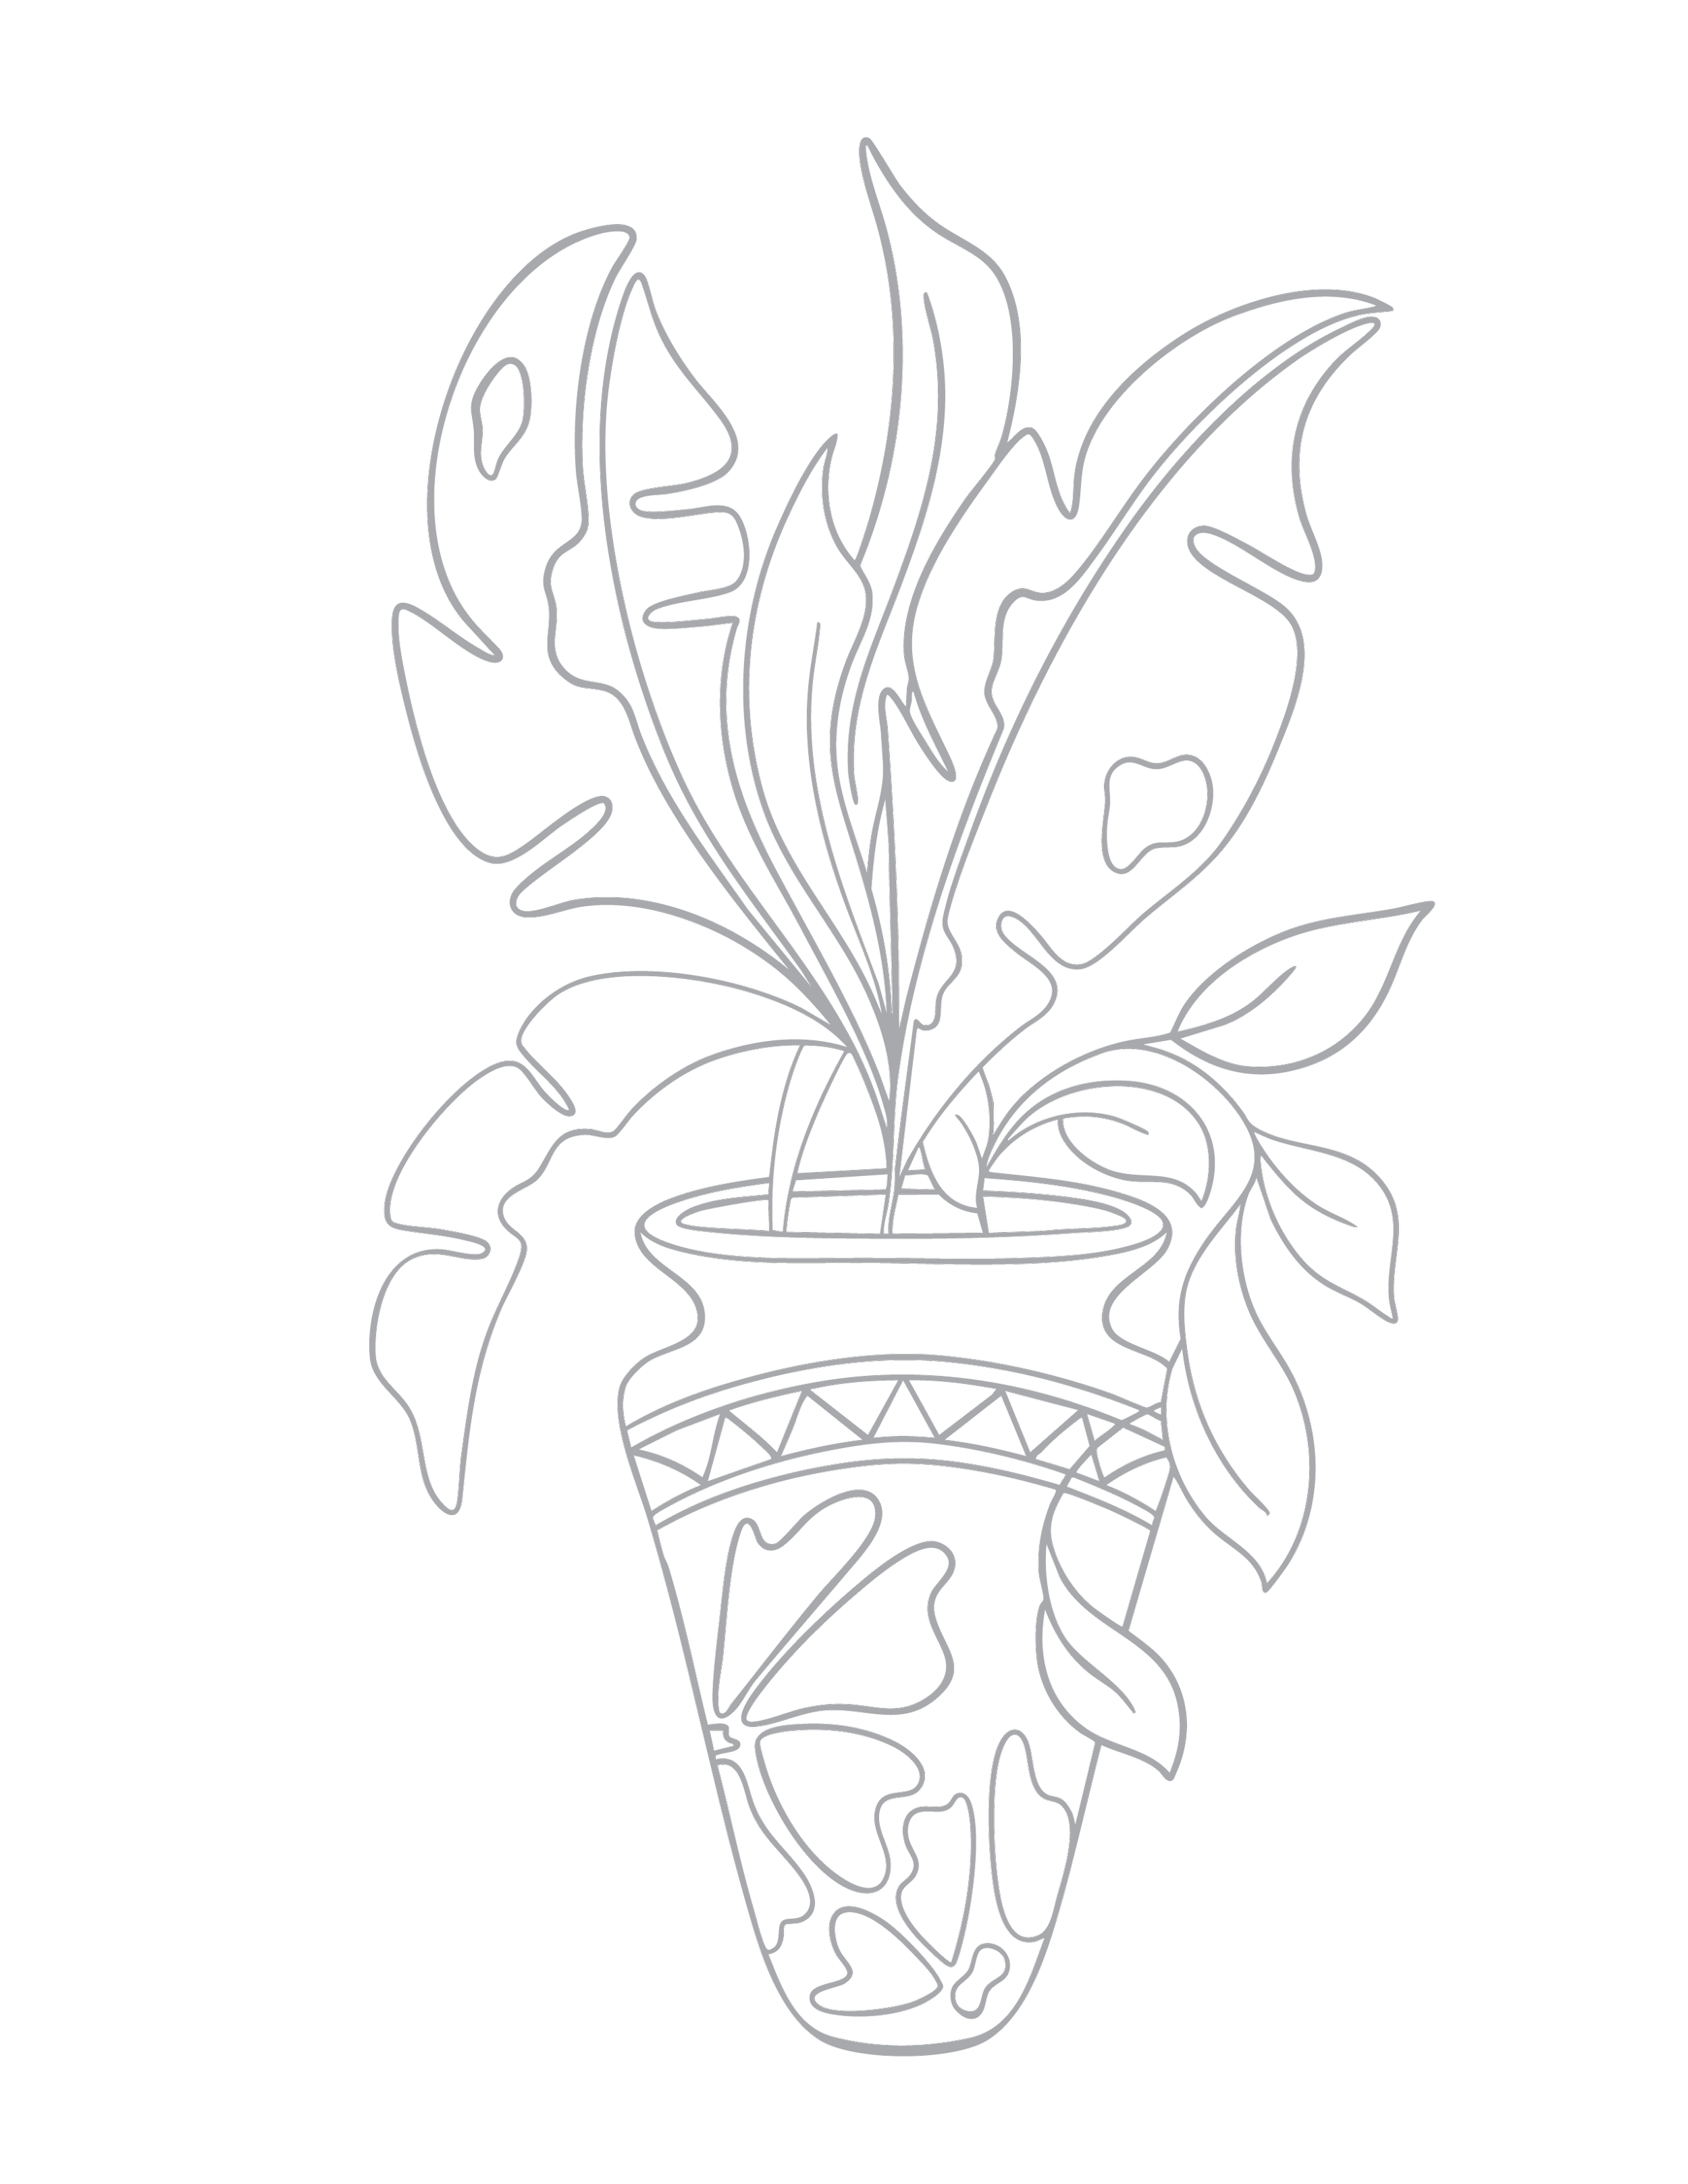
Drawing a Flower Pot
Step 1: Start with Shapes
A flower pot can be simplified into:
An oval for the opening
Two angled lines for the sides
A curved line for the base
Step 2: Add Structure
Add another oval inside the top opening for depth
Widen or narrow the pot shape
Experiment with tall pots versus short pots
Step 3: Add Personality
Try adding:
Cracks
Dots
Stripes
Decorative patterns
A tiny plant sprouting from the top